2.3 B2C Disbursements
B2C Disbursements (Business to Customer)
B2C (Business to Customer) integration enables ERPNext to send money directly to M-Pesa accounts. This is used for paying employees their salaries, reimbursing expense claims, settling supplier invoices, and disbursing loans all from within the ERP system.
How It Works
You create a B2C Payment Disbursement document, select the outstanding records to pay, enter or confirm mobile numbers, and submit. The app sends a separate Daraja B2C API call for each payment reference. Results are reflected in real time as success or failure notifications per reference.
Use Cases
- Employee salary disbursement i.e Salary Slip
- Supplier invoice payment i.e Purchase Invoice

- Employee expense reimbursement i.e Expense Claim
Employee Expense
- Employee advance payment i.e Employee Advance
Employee advance payment
- Loan disbursement i.e Loan (via Frappe Lending)
 Loan Disbursement
Step-by-Step Guide
Step 1: Open B2C Payment Disbursement
Use the Awesome Bar or Mpesa workspace to navigate to B2C Payment Disbursement and click New.
Step 2: Fill in the Mandatory Fields
| Field | Notes |
|---|---|
| Company | Auto-filled from session defaults. Change if needed. |
| Mode of Payment | Select the Mode of Payment linked to your B2C Mpesa Settings. |
| Party Type | Select the type of party being paid: Employee, Supplier, Customer, etc. |
| Transaction to Pay Against | Select the document type to pull outstanding records from. |
| Account Paid From | The bank/cash account from which payment is being made. |
| Account Paid To | The destination account for the accounting entry. |
Step 3: Fetch Outstanding Records
Click the Get References button to load unpaid records based on the Party Type and Transaction type selected. Use the filters in the Filters Section to narrow the results.
The fetched records populate the References child table.
Step 4: Set Mobile Numbers
If mobile numbers are not automatically populated, enter the M-Pesa phone number for each reference in the format 2547XXXXXXXX.
Verify the Allocated Amount for each reference. You can also set a Paid Amount at the header level to auto-distribute the allocation across references.
Step 5: Submit
When you are satisfied with the entries, click Submit. The system initiates a Daraja B2C API call for each reference.
Real-time notifications appear showing the result for each line:
- Success: Payment was accepted by Safaricom
- Failure: The disbursement failed for that reference
Step 6: Review Document Status
After submission, the document status updates automatically:
| Status | Meaning |
|---|---|
| Paid | All references were successfully disbursed |
| Partly Paid | Some references succeeded, others failed |
| Failed | All references failed |
| Not Initiated | No payment attempts were made |
Step 7: Retry Failed Payments
If any references failed, a Retry Failed Payments button appears. Click it to re-attempt disbursement for failed entries only.
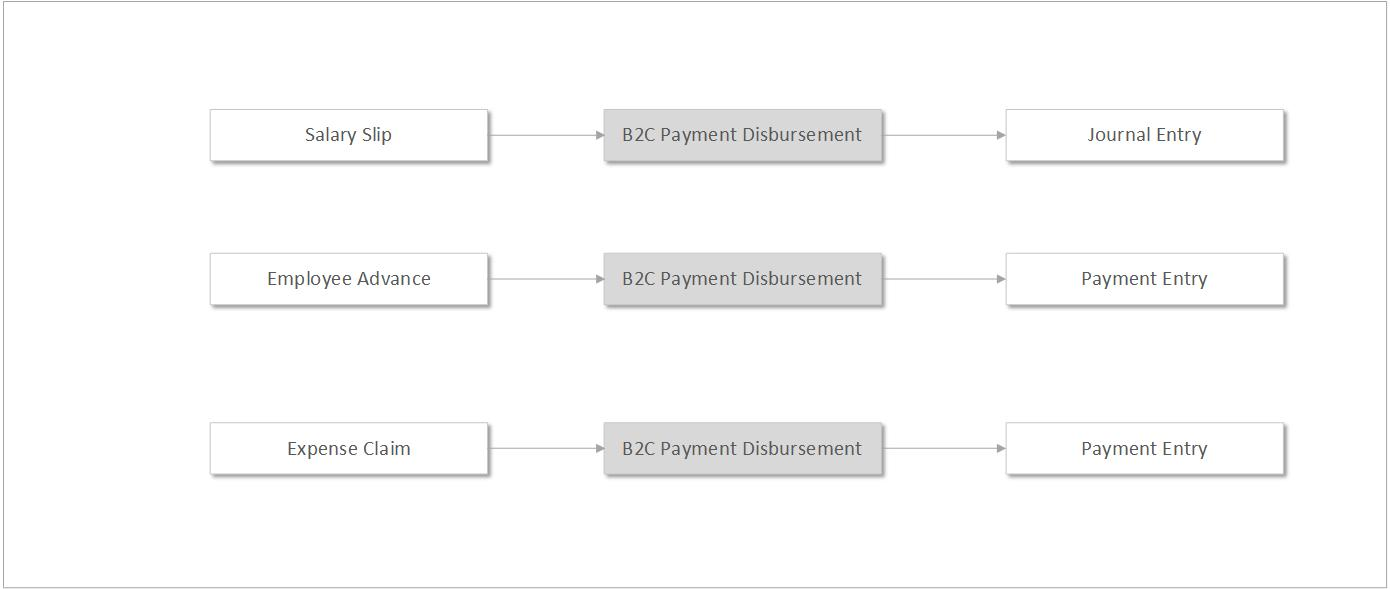
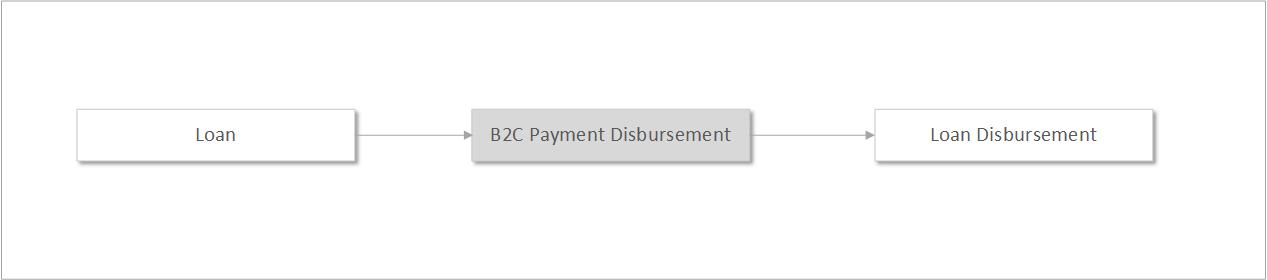
Accounting Entries Created
The accounting entries generated depend on the document type being paid:
| Document Type | Accounting Entry Created |
|---|---|
| Salary Slip | Journal Entry (type: Bank Entry) |
| Purchase Invoice, Expense Claim, Employee Advance | Payment Entry (one per reference) |
| Loan | Loan Disbursement record |
Phone Number Format
All mobile numbers must be in the international format without a leading zero or plus sign:
| Input | Correct Format |
|---|---|
| 0722123456 | 254722123456 |
| +254733987654 | 254733987654 |